

You want mood lighting that reflects your style, but commercial options often fall short on customisation and sustainability. Generic fixtures offer limited control, while eco-conscious alternatives can be expensive or uninspiring. DIY glass block lamps solve both challenges by combining reclaimed materials with smart technology, giving you complete creative freedom. This guide walks you through building your own customisable, sustainable lamp that transforms any space with programmable ambient lighting.
Table of Contents
- Gathering Your Materials And Tools For Mood Lighting
- Step-By-Step Assembly And Programming Of Your Glass Block Lamp
- Adding Artisanal Wood Surrounds And Finishing Touches
- Troubleshooting Common Issues And Verifying Your Mood Lighting
- Explore Eco-Friendly Unique Lamp Gifts At Lumo Bloc
- Frequently Asked Questions
Key takeaways
| Point | Details |
|---|---|
| Complete build process | This guide covers materials sourcing, electronics assembly, wood finishing, and programming for full customisation. |
| Smart WiFi control | ESP32 microcontroller enables multiple lighting modes with remote access through your smartphone or tablet. |
| Artisanal wood surrounds | Handcrafted timber frames add rustic charm whilst protecting glass blocks and concealing electronics elegantly. |
| Safety first approach | Proper drilling techniques and soldering practices ensure smooth construction without damaging materials or risking injury. |
| Sustainable design | Reclaimed glass blocks and eco-friendly materials create stylish lamps that reduce environmental impact beautifully. |
Gathering your materials and tools for mood lighting
Building your eco-friendly glass block lamp starts with sourcing quality materials that balance sustainability with functionality. The foundation of your project requires a glass brick measuring 190x190x81mm, ideally sourced from reclaimed building materials or architectural salvage yards. These blocks provide excellent light diffusion whilst maintaining structural integrity for your design.
Your electronics package centres around the ESP32 microcontroller, which brings smart home capabilities to traditional mood lighting. This compact board manages WiFi connectivity and controls your RGB LED patterns with remarkable precision. You’ll need an RGB LED PCB compatible with your chosen microcontroller, along with a rechargeable battery pack that provides portable power without compromising aesthetics. The 3D printed base housing secures these components whilst creating a professional finish that conceals wiring and electronics.
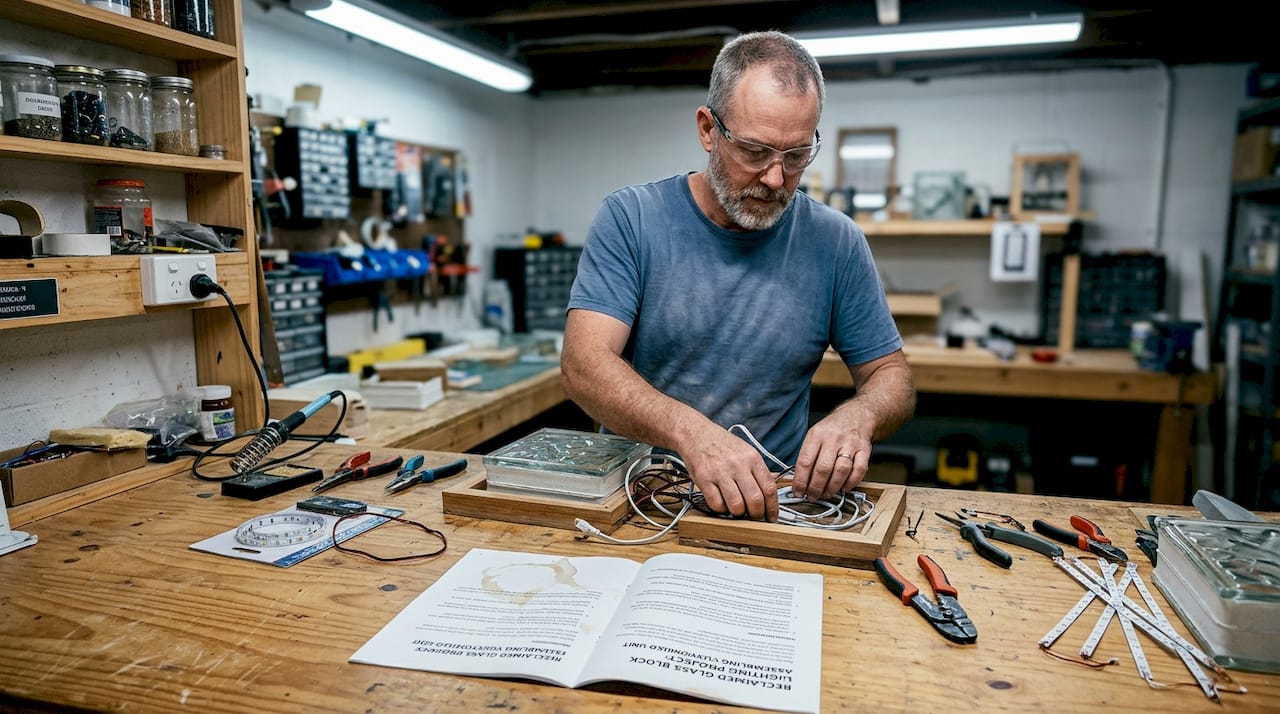
Tool selection matters significantly for achieving clean, professional results. Your essential toolkit includes a temperature-controlled soldering station for precise electronics assembly, a power drill fitted with a diamond-tipped bit specifically designed for glass drilling, and wire strippers for preparing electrical connections. Safety equipment like protective eyewear and work gloves aren’t optional, they’re mandatory for preventing injuries during construction.
Consider these material quality factors when shopping:
- Glass block clarity affects light diffusion patterns, textured surfaces create softer ambient glows
- ESP32 board versions vary in WiFi range and programming compatibility
- LED strip density determines brightness levels and colour accuracy
- Battery capacity impacts operating time between charges
- 3D printing material quality influences durability and heat resistance
Organising your workspace before starting saves time and reduces mistakes. Lay out components systematically, test electronic parts before assembly, and keep your custom creative glass block lamp guide accessible for quick reference. This preparation phase might seem tedious, but it prevents costly errors during irreversible steps like drilling or soldering.
| Material | Purpose | Sustainability Factor |
|---|---|---|
| Reclaimed glass block | Light diffusion housing | Diverts waste from landfills |
| ESP32 microcontroller | Smart lighting control | Long lifespan reduces replacements |
| Rechargeable battery | Portable power source | Eliminates disposable batteries |
| Salvaged timber | Decorative surround | Repurposes existing materials |
Your material choices directly impact both aesthetic outcomes and environmental footprint. Prioritise locally sourced components when possible, reducing transportation emissions whilst supporting regional suppliers. Quality materials cost more upfront but deliver superior results that justify the investment through longevity and performance. Following sustainable stylish lighting tips ensures your project aligns with eco-conscious design principles from start to finish.
Step-by-step assembly and programming of your glass block lamp
Electronics assembly demands precision and patience, starting with reflow soldering your RGB LED PCB components. Set your soldering station to the manufacturer’s recommended temperature, typically around 200°C for lead-free solder. Apply flux to connection points, position components carefully, and heat each joint until solder flows smoothly without creating bridges between adjacent pins. This foundational step determines your lamp’s reliability and performance for years to come.
Wiring your LED strip to the ESP32 requires attention to polarity and secure connections. Strip approximately 5mm of insulation from each wire end, tin the exposed copper with solder, then connect power, ground, and data lines according to your microcontroller’s pinout diagram. Heat shrink tubing over each connection prevents short circuits and adds mechanical strength to vulnerable joints. Double-check every connection against your circuit diagram before applying power, one reversed wire can damage components instantly.
Positioning your LED beneath the glass block creates the diffused glow that defines mood lighting aesthetics. Centre the LED strip or panel directly under the block’s base, ensuring even light distribution across the entire surface. Test different heights to find the sweet spot where light spreads uniformly without creating hot spots or dark corners. Secure the LED assembly with adhesive pads or mounting brackets that allow future adjustments if needed.
Programming your ESP32 transforms basic electronics into sophisticated smart lighting. Follow these steps methodically:
- Install Arduino IDE or PlatformIO development environment on your computer
- Add ESP32 board support through the board manager interface
- Download lighting control libraries for WiFi management and LED effects
- Upload base firmware that includes static, ocean, and fire modes for versatile ambiance
- Configure WiFi credentials and network security settings carefully
- Test each lighting mode individually before finalising code
- Implement over-the-air update capability for future enhancements
Your programming phase offers unlimited creative possibilities beyond basic colour changes. Experiment with transition speeds, brightness curves, and pattern variations that match your personal aesthetic preferences. The ESP32’s processing power handles complex animations smoothly, enabling effects that rival commercial smart lighting systems at a fraction of the cost.
Pro Tip: Create multiple lighting profiles for different times of day or activities. Morning mode with cool white tones energises your space, whilst evening mode with warm amber hues promotes relaxation. Programme automatic transitions based on time or ambient light sensors for truly intelligent mood lighting.
Thorough testing prevents disappointing failures after final assembly. Power your lamp through multiple cycles, verify WiFi connectivity from various rooms, and confirm every colour and pattern displays correctly. Monitor component temperatures during extended operation, ensuring nothing overheats or draws excessive current. Address any issues now, troubleshooting becomes exponentially harder once everything’s sealed inside wood surrounds. Your step by step lamp design guide 2026 provides additional troubleshooting resources when unexpected challenges arise.
Adding artisanal wood surrounds and finishing touches
Crafting wood surrounds elevates your glass block lamp from functional lighting to decorative art piece. Start by selecting timber that complements your interior design scheme, oak delivers rich grain patterns and durability, pine offers lighter tones and easier workability, whilst reclaimed timber adds character through weathered textures and unique imperfections. Sand your chosen wood to 220 grit smoothness, removing splinters and preparing surfaces for stain or finish application.
Drilling into glass blocks requires specialised technique and proper safety measures. Secure your glass block in a padded vise to prevent movement during drilling, position your diamond bit precisely where wiring needs to pass through, and start at low speed with constant water lubrication. The wet sponge method controls glass dust whilst cooling the bit, preventing thermal stress that causes cracks. Apply steady, gentle pressure, let the bit do the work rather than forcing penetration. This patient approach protects your glass investment and ensures clean holes for professional results.
Wood frame construction balances structural integrity with aesthetic appeal. Measure your glass block dimensions precisely, adding 3mm clearance on each side for easy fitting and thermal expansion. Cut frame pieces using a mitre saw for perfect 45-degree corners, then dry-fit everything before applying adhesive. This rehearsal reveals alignment issues whilst corrections remain simple and reversible.
Assembly techniques vary based on your living situation and permanence preferences:
- Permanent installations use wood glue and finishing nails for maximum strength
- Rental-friendly designs employ removable brackets and pressure fittings
- Modular frames with corner connectors allow disassembly for transport
- Magnetic mounting systems enable quick lamp repositioning
Staining and finishing protect your woodwork whilst enhancing natural beauty. Apply stain with lint-free cloths using circular motions that work colour deep into grain patterns. Wipe excess immediately to prevent blotching, then allow complete drying before protective topcoats. Polyurethane varnish provides durable protection against moisture and scratches, whilst natural oils like tung or linseed maintain timber’s tactile warmth.
Pro Tip: Test stain colours on scrap pieces from your actual timber stock. Wood species and grain patterns dramatically affect final appearance, what looks perfect on oak might disappoint on pine. Multiple thin coats produce richer, more uniform colour than single heavy applications.
“The beauty of handcrafted wood surrounds lies in their imperfections. Each piece tells a story through grain variations, knot patterns, and subtle colour shifts that mass-produced fixtures can never replicate. Embrace these characteristics as signatures of authentic craftsmanship.”
Integrating smart electronics with rustic wood creates compelling design contrast. Route wiring through pre-drilled channels, concealing cables within frame cavities for clean aesthetics. Position your power switch or charging port accessibly but discreetly, maintaining the lamp’s sculptural presence. The juxtaposition of high-tech programmable lighting within handcrafted timber frames exemplifies contemporary sustainable design philosophy. Understanding why customisation matters lighting helps you make design decisions that reflect your unique style whilst respecting environmental values.
Troubleshooting common issues and verifying your mood lighting
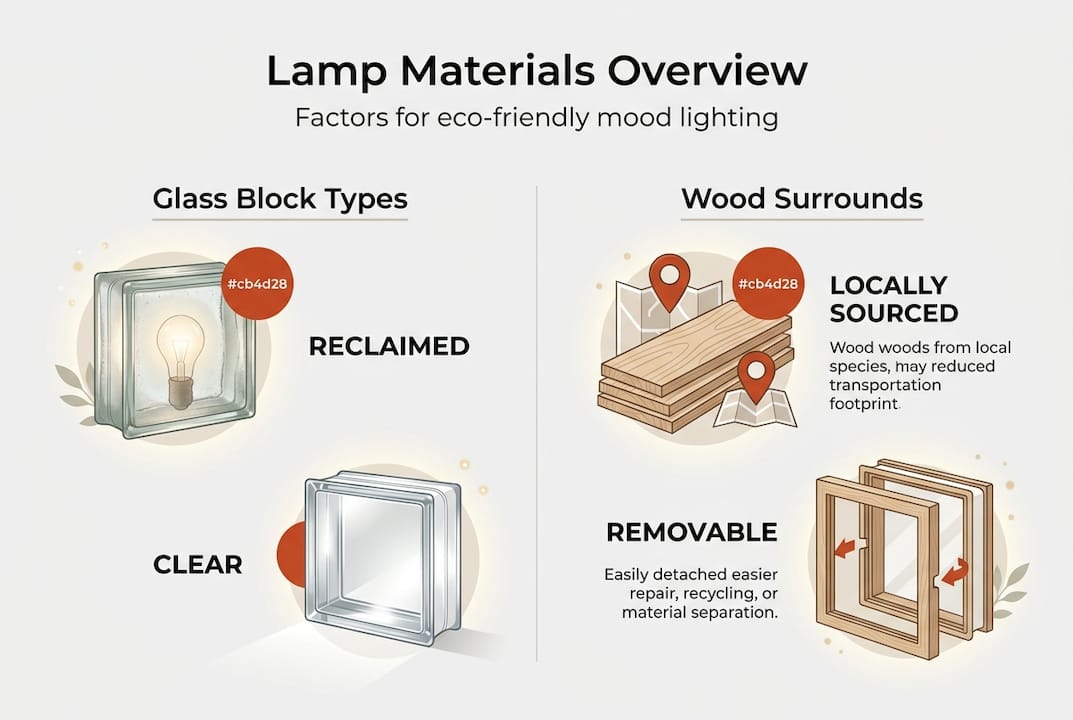
Successful lamp construction depends on methodical verification and proactive problem-solving. Start by examining your glass block choice, textured surfaces diffuse light into soft ambient glows perfect for relaxation spaces, whilst clear blocks project sharper, more defined illumination suitable for task lighting or dramatic accents. This fundamental decision affects your lamp’s entire character and functional performance.
Electrical connections represent the most common failure point in DIY electronics projects. Create a verification checklist covering these critical elements:
- LED polarity matches controller output specifications
- Solder joints show smooth, shiny surfaces without cold joints or excess flux
- Wire gauge handles current load without voltage drop or heating
- Insulation covers all exposed conductors completely
- Battery connections remain secure under movement and vibration
Drilling mishaps can ruin otherwise perfect glass blocks. Maintain proper technique by securing glass firmly, starting at low RPM with continuous water cooling, and never forcing the bit through resistance. Cracks typically originate from excessive pressure, inadequate cooling, or using worn bits that create friction instead of cutting cleanly. Keep spare glass blocks available, even experienced builders occasionally encounter unexpected fractures.
| Issue | Cause | Solution |
|---|---|---|
| Flickering LEDs | Loose connections or inadequate power | Resolder joints and verify battery capacity |
| Uneven light distribution | LED positioning off-centre | Adjust LED placement and retest diffusion |
| WiFi connectivity drops | Network interference or weak signal | Relocate router or add ESP32 external antenna |
| Overheating components | Insufficient ventilation or overcurrent | Add cooling vents and check current draw |
Network security deserves serious attention when connecting smart devices. Change default ESP32 passwords immediately, use WPA3 encryption on your WiFi network, and implement secure authentication protocols for remote access. Maintaining robust WiFi security prevents unauthorised control of your lighting system whilst protecting broader home network integrity. Consider creating a separate IoT network segment that isolates smart devices from computers and personal data storage.
Reflow soldering errors manifest in subtle ways that compromise long-term reliability. Cold solder joints appear dull and grainy rather than smooth and reflective, indicating incomplete metal bonding that fails under thermal cycling or vibration. Bridged connections between adjacent pins cause short circuits that damage components or create erratic behaviour. Inspect every joint under magnification, rework any questionable connections before they cause field failures.
Final performance testing simulates real-world operating conditions. Run your lamp continuously for 24 hours, monitoring temperatures and verifying consistent operation across all programmed modes. Test WiFi control from maximum expected distance, confirming reliable communication throughout your home. Cycle through colour transitions repeatedly, ensuring smooth fading without glitches or sudden jumps. Document any anomalies and address them systematically before considering your project complete. Consulting resources about what is mood lighting helps you evaluate whether your finished lamp achieves intended atmospheric effects.
Explore eco-friendly unique lamp gifts at Lumo Bloc
Building your own glass block lamp delivers immense satisfaction, but sometimes you need professional craftsmanship or unique gift solutions. Lumo Bloc specialises in handcrafted glass block lamps that blend New Zealand artisanal quality with sustainable design principles. Each piece incorporates reclaimed materials and customisable features like interchangeable coloured lenses and wireless operation.
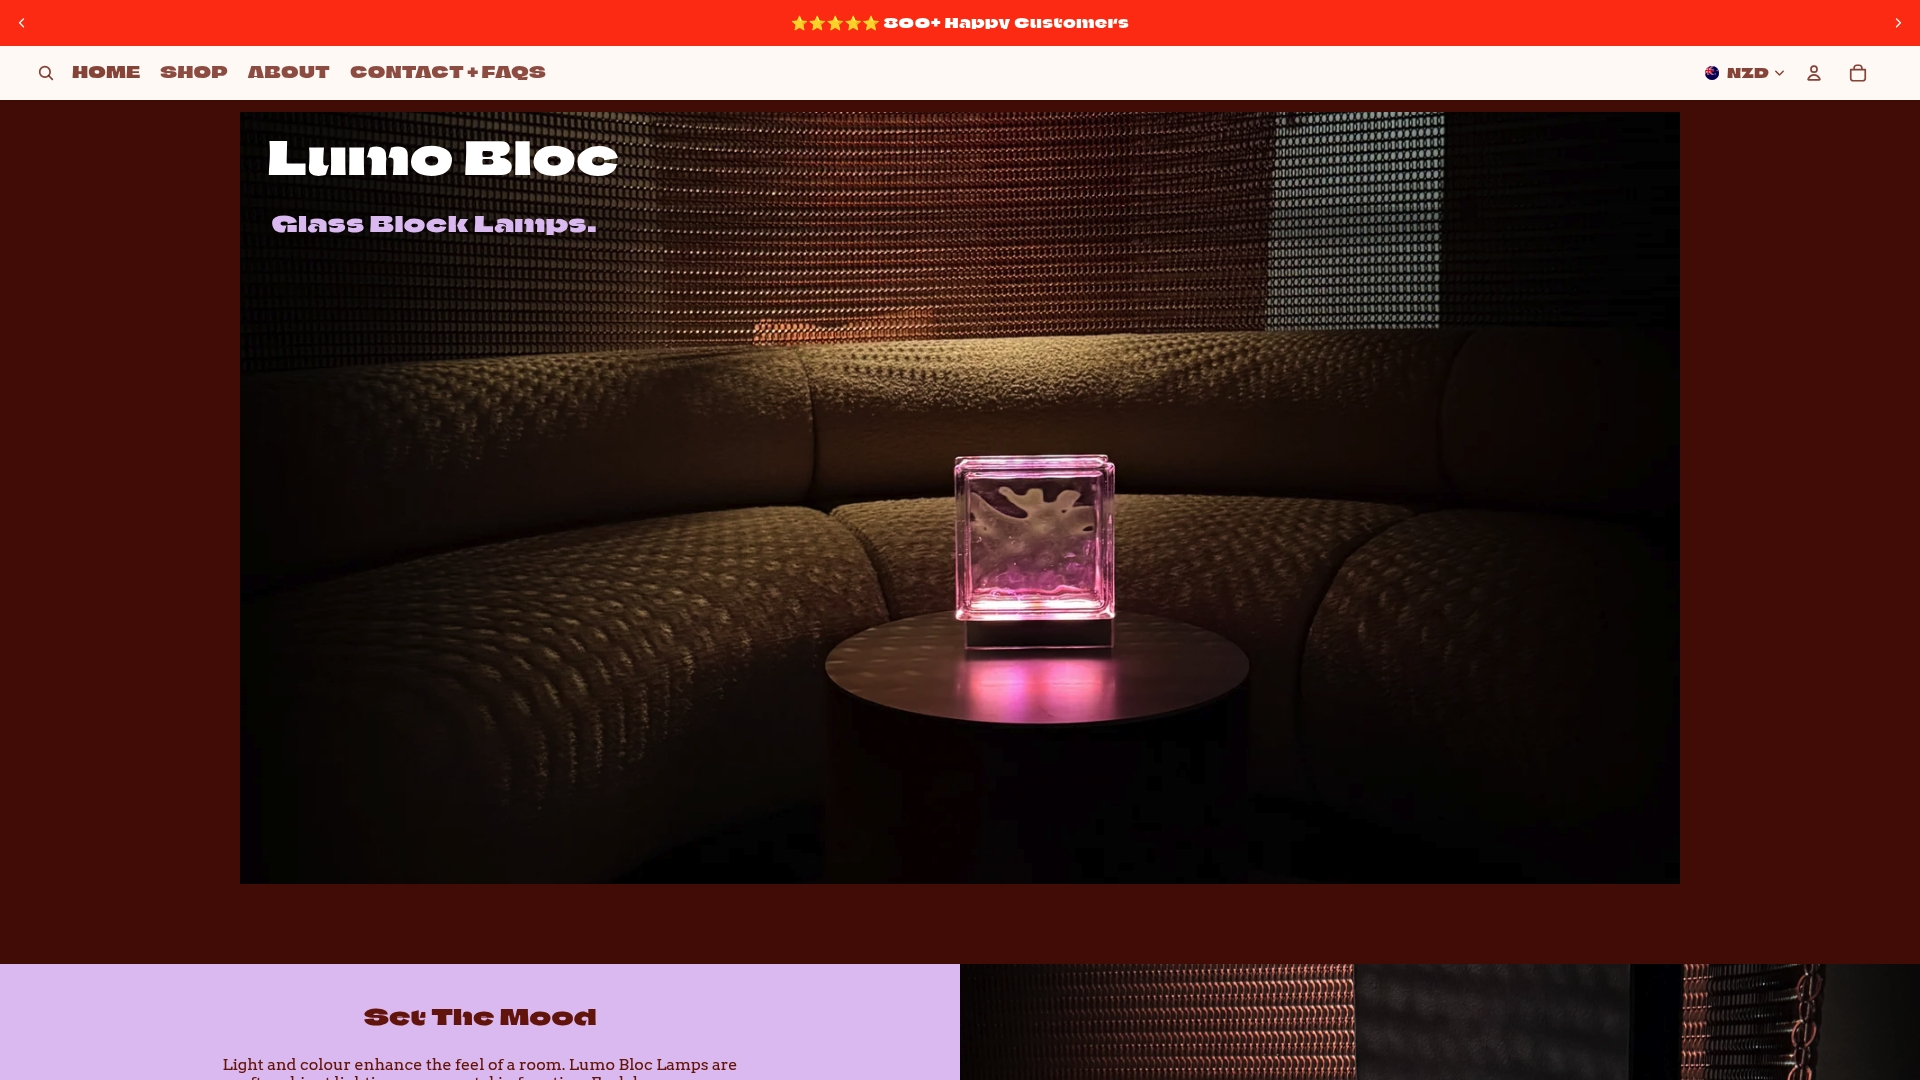
Whether you’re seeking ready-made mood lighting for your home or searching for thoughtful gifts that combine style with environmental consciousness, Lumo Bloc’s glass block lamp collection offers curated options that complement any interior aesthetic. Explore unique handmade gift ideas perfect for sustainability-minded friends and family, or discover handmade designer lamp gifts that showcase exceptional craftsmanship. Every Lumo Bloc creation reflects the same values you’ve embodied in your DIY project, proving that beautiful, eco-friendly lighting enhances spaces whilst respecting our planet.
Frequently asked questions
How do I control the colour modes on a glass block mood lamp?
Colour modes operate through the ESP32 microcontroller programmed with WiFi connectivity for remote access. Users select lighting patterns like static colours, ocean waves, or flickering fire effects through smartphone apps or web interfaces. The system responds instantly to commands, enabling real-time adjustments that match your mood or activity. Advanced configurations allow scheduling automatic transitions based on time of day or ambient conditions. Refer to your custom glass block lamp guide for detailed programming instructions and mode customisation options.
What safety precautions should I take when drilling glass blocks?
Secure your glass block firmly in a padded vise to prevent movement during drilling operations. Use diamond-tipped bits specifically designed for glass, operating at low speeds with constant water lubrication to control dust and prevent thermal stress. Always wear safety glasses to protect against glass particles, and work gloves to maintain secure grip whilst handling sharp edges. Start drilling with minimal pressure, allowing the bit to gradually penetrate rather than forcing through resistance. Keep a wet sponge nearby for continuous cooling and dust suppression throughout the drilling process.
Can I use wood surrounds on a rental property?
Wood surrounds designed as removable frames work perfectly for rental properties where permanent modifications aren’t permitted. Construct your frame using reversible fixings like corner brackets, pressure fittings, or adhesive strips that remove cleanly without surface damage. Avoid drilling into walls or permanently attaching components to property fixtures. Modular designs allow complete disassembly for transport when moving, protecting your investment whilst respecting landlord requirements. This approach delivers all the aesthetic benefits of custom wood surrounds without risking security deposits or lease violations.
What are the benefits of using textured vs clear glass blocks for mood lighting?
Textured glass blocks diffuse light evenly across their surface, creating soft ambient glows that reduce harsh shadows and eye strain. This quality makes textured blocks ideal for relaxation spaces like bedrooms or meditation areas where gentle illumination promotes calm atmospheres. Clear glass blocks allow brighter, more focused light projection with sharper edges and defined patterns. They suit accent lighting applications where you want dramatic visual impact or need higher light output for functional purposes. Your choice depends on intended use and desired aesthetic, many designers combine both types in multi-lamp installations for versatile lighting options. Understanding different mood lighting ambiances helps you select the optimal glass block texture for your specific space and preferences.